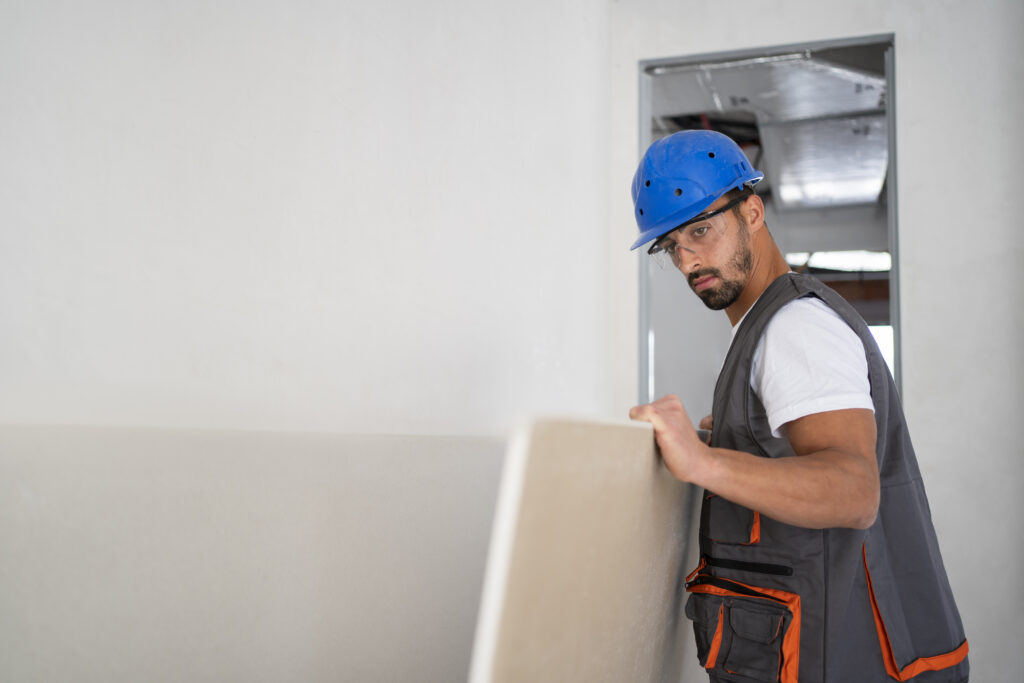
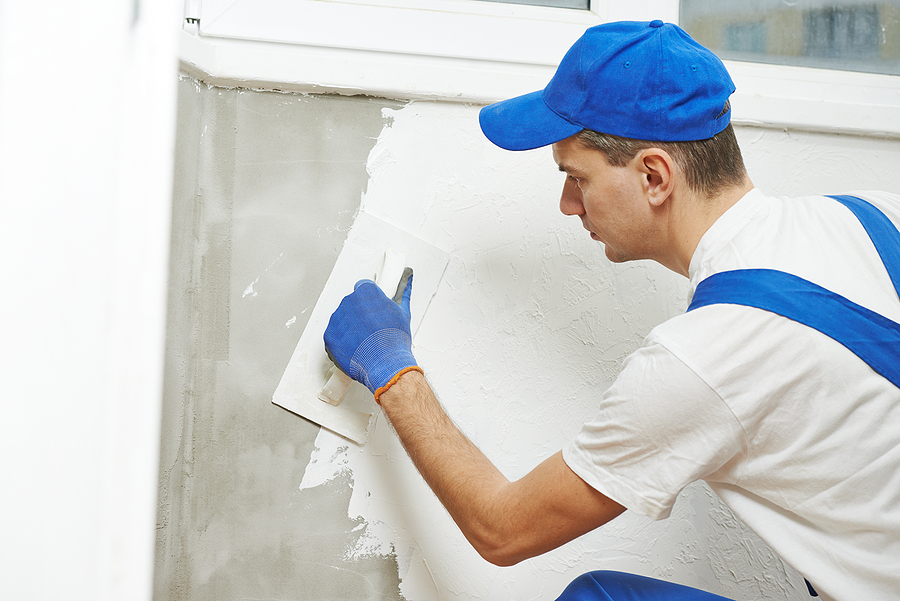
Drywall, also known as gypsum board or sheetrock, is a staple in modern construction. It forms the smooth walls and ceilings we see in homes and commercial spaces, providing a clean canvas for paint and decoration. Whether you’re tackling a home renovation, repairing damage, or building a new space, understanding the basics of drywall installation and repair is crucial. This comprehensive guide will walk you through everything you need to know, from selecting the right materials to executing flawless installations and making repairs like a pro.

Why Choose Drywall?
1. Durable and Versatile
Drywall is known for its strength and ability to withstand daily wear and tear. It’s commonly used because it can create smooth, finished surfaces that are ideal for paint or wallpaper. Additionally, it comes in various thicknesses and types, making it versatile for different areas of a home or building.
- Fire Resistance: Many types of drywall offer fire-resistant properties, making them suitable for areas like garages or utility rooms.
- Soundproofing: Thicker drywall or specialized soundproofing boards help reduce noise between rooms, creating a quieter living environment.
2. Affordable and Accessible
Drywall is an affordable material that is readily available at most home improvement stores, making it a go-to choice for homeowners and contractors alike. Its cost-effectiveness makes it ideal for both large and small projects, whether building new walls or patching up existing ones.
3. Ease of Installation and Repair
Drywall is relatively easy to cut, shape, and install, especially with the right tools and knowledge. This makes it a popular option for DIY projects, as well as for professionals. Plus, drywall repairs can be done quickly, often with just a few simple tools and materials.
Tools and Materials Needed for Drywall Installation
Before starting your drywall project, it’s important to gather the right tools and materials. Having everything on hand will make the process smoother and more efficient. Here’s what you’ll need:
- Drywall Sheets: Available in various sizes and thicknesses, such as 1/2-inch or 5/8-inch boards.
- Drywall Screws/Nails: For securing the drywall to studs.
- Drywall Tape: To cover seams and joints.
- Joint Compound (Mud): For smoothing over seams and filling gaps.
- Taping Knife: A wide, flat tool for applying joint compound.
- Utility Knife: For cutting drywall sheets to size.
- Drywall Saw: A small, serrated saw for cutting holes or trimming pieces.
- Sandpaper/Sanding Block: To smooth out dried joint compound.
- Stud Finder: Helps locate studs when installing new drywall.
- Measuring Tape and Level: For accurate measurements and alignment.

Step-by-Step Guide to Drywall Installation
1. Prepare the Area
Before installing drywall, ensure the space is clean and the studs or framing are ready. Remove any debris and make sure that the framing is plumb (vertically straight) and square.
- Check for Electrical and Plumbing: Make sure electrical wiring and plumbing are properly in place before closing the walls.
- Measure and Plan: Measure the space to determine how many drywall sheets you’ll need, and plan the placement to minimize the number of seams.
2. Cut the Drywall to Size
Drywall sheets are typically 4 feet wide and come in various lengths. Measure the area where the drywall will be installed and use a utility knife to score the board along a straight edge. Bend the board along the cut line to snap it, then use the utility knife to cut through the paper backing.
- Cutting Holes for Outlets: Use a drywall saw to cut out openings for electrical outlets or light switches.
- Safety Tip: Always wear safety glasses and gloves when cutting drywall to protect yourself from dust and sharp edges.
3. Hang the Drywall
Attach the drywall sheets to the framing using drywall screws or nails, starting with the ceiling if applicable, followed by the walls.
- Screw Placement: Screws should be placed about 12 inches apart along the edges and every 16 inches along the studs. Make sure the screw heads are slightly recessed without breaking through the paper surface of the drywall.
- Aligning Seams: Stagger seams between adjacent sheets to create a stronger, more seamless surface.
4. Tape and Mud the Seams
Once the drywall is hung, cover the seams with drywall tape and apply a thin layer of joint compound over the tape using a taping knife. Smooth out the compound to blend it into the wall.
- Feathering Technique: Feather the edges of the joint compound to blend it smoothly with the drywall surface. Apply two to three coats, allowing each layer to dry before adding the next.
- Sand Smooth: After the final coat has dried, sand the area smooth using fine-grit sandpaper. This ensures a seamless transition between the drywall and compound.
5. Prime and Paint
After sanding, wipe down the surface to remove dust and apply a primer designed for drywall. This prepares the surface for paint, ensuring even coverage and better adhesion.
Common Drywall Repairs and How to Fix Them
Even the most well-installed drywall can become damaged over time. Here’s how to tackle some common drywall issues:
1. Repairing Small Holes (e.g., Nail Holes)
For small holes, such as those left by nails or picture hangers, use a small amount of joint compound to fill the hole.
- Apply Compound: Use a putty knife to apply a small amount of compound over the hole.
- Sand and Repaint: Once the compound dries, sand it smooth and touch up with paint.
2. Fixing Medium-Sized Holes (e.g., Doorknob Damage)
For holes up to 6 inches in diameter, use a drywall patch or mesh tape.
- Apply Patch: Place a self-adhesive mesh patch over the hole.
- Cover with Compound: Apply joint compound over the patch, feathering the edges.
- Sand and Repaint: After drying, sand smooth and apply paint to match the surrounding wall.
3. Repairing Large Holes or Cracks
For larger holes or cracks, you may need to cut out the damaged area and install a new piece of drywall.
- Cut Out the Damage: Use a drywall saw to cut out a square around the damaged area.
- Install New Piece: Cut a new piece of drywall to fit the hole, attach it to the framing with screws, and tape the seams.
- Finish with Compound: Apply joint compound over the seams and screws, sand smooth, and repaint.
4. Dealing with Water Damage
Water damage can cause drywall to become soft or discolored. It’s important to address the source of the water leak before making repairs.
- Remove Damaged Drywall: Cut out the affected area and replace it with a new piece.
- Use Mold-Resistant Drywall: In areas prone to moisture, like bathrooms or basements, opt for moisture-resistant drywall to prevent future damage.
DIY vs. Professional Drywall Installation and Repair
1. When to DIY
Simple projects like patching small holes or installing drywall in a small room can often be handled by a DIY enthusiast.
- Cost Savings: DIY repairs can save you money on labor costs, making it an affordable option for minor fixes.
- Satisfaction: Completing a drywall project yourself can be a rewarding experience.
2. When to Hire a Professional
For larger projects or complex repairs, hiring a professional ensures a high-quality finish and saves time.
- Experience Matters: Professionals bring expertise, ensuring a seamless finish without imperfections.
- Time Efficiency: A skilled crew can complete the project quickly, allowing you to move on to the next phase of your renovation sooner.
Conclusion: Achieving a Perfect Drywall Finish
Whether you’re building new walls or repairing old ones, understanding the fundamentals of drywall installation and repair can help you achieve a professional-looking result. By choosing the right materials, using proper techniques, and knowing when to seek professional help, you can create smooth, beautiful walls that stand the test of time. So, the next time you tackle a home improvement project, you’ll be ready to handle drywall like a pro, ensuring a flawless finish that enhances your living space. Happy building!

